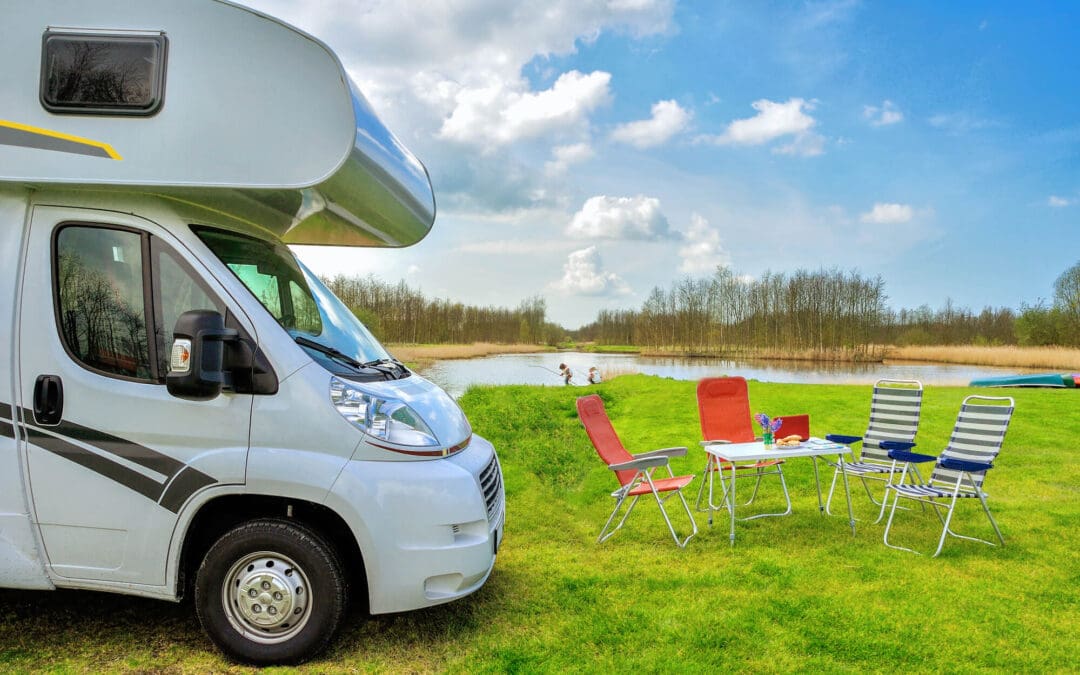
Pulling into a campsite after a long drive is one of the most satisfying moments in RV travel, but the work isn’t done when the wheels stop turning. Knowing how to set up your RV quickly, correctly, and safely transforms the arrival experience from a stressful series of tasks into a smooth, practiced routine that gets you relaxing around the campfire in no time. Whether you’re a first-time RVer or an experienced traveler looking to tighten up your process, a systematic setup approach makes every arrival easier and every stay more enjoyable.
The First Steps to Set Up Your RV at a New Campsite
Before you do anything else, take a few minutes to assess the space before unhitching or extending anything. Walk the site to identify obstacles, low-hanging branches, uneven ground, utility hookup locations, and neighboring rigs that might affect your positioning. Pull in slowly and position the RV as accurately as possible before stopping. Small adjustments in positioning save significant effort during leveling. A minute of assessment before parking prevents the frustration of needing to reposition after setup has already begun.
Level the RV Before You Set Up Your RV Systems
Leveling is the most important step in any RV setup, and it needs to happen before anything else. An unlevel RV affects everything from refrigerator performance and slide-out function to sleeping comfort and door alignment. Use a bubble level or the RV’s built-in leveling app to assess the current angle, then use leveling blocks under the tires to achieve side-to-side level before using the tongue jack to achieve front-to-back level. Lower stabilizer jacks last; they stabilize but don’t level, and using them to try to level the RV causes damage over time.
Set Up Your RV Hookups
Once the RV is level and stable, connecting utilities is the next priority. Attach your potable water hose to the campsite pedestal with a water pressure regulator between the supply and your hose to protect the RV’s plumbing. Connect your shore power cord to the pedestal, ensuring the connection is secure before switching the breaker on. For sewer, connect the hose with a clear elbow fitting so you can monitor drainage, but keep the valve closed until you’re ready to dump rather than leaving it open continuously, which causes pyramid buildup in the tank.
Extend Slide-Outs and Deploy the Awning
With utilities connected and the RV stable, extending the slide-outs and deploying the awning transforms the rig from travel mode into living mode. Before extending any slide-out, walk around the exterior to confirm there are no obstacles in the path of the slide. Deploy the awning only when you plan to be nearby; awnings catch wind quickly and can be damaged by gusts that develop unexpectedly. Most experienced RVers retract the awning whenever they leave the site or when the weather is uncertain.
Set Up Your RV Interior for a Comfortable Stay
The final step is transitioning the interior from travel configuration to living configuration. Return any items secured for travel to their normal positions, set up the kitchen, make beds, and confirm that all appliances are functioning correctly, particularly the refrigerator, which should be checked to confirm it has switched from propane to electric if you’re on shore power. A final walkthrough of the exterior to confirm everything is properly deployed and secure completes the setup and marks the official start of the stay.
Frequently Asked Questions (FAQs)
How long does it take to set up an RV at a campsite?
For an experienced RVer with a practiced routine, a full hookup setup typically takes between twenty and forty-five minutes. First-time RVers should expect the process to take longer as they become familiar with their rig’s systems. The more often you do it, the faster and smoother it becomes.
Do I need special tools to set up an RV?
A basic setup toolkit includes leveling blocks, a bubble level, a water pressure regulator, a potable water hose, a sewer hose with fittings, shore power adapters, and wheel chocks. Having these organized and accessible before arrival makes the setup process significantly faster and less stressful at any campsite.
What order should I set up my RV in?
Position and level first, then chock the wheels, connect shore power, connect water, extend slide-outs, set up the sewer connection, deploy the awning, and transition the interior to living mode. Following a consistent sequence prevents common mistakes like trying to level after slides are already extended.
Should I leave the gray and black tank valves open or closed?
The black tank valve should always remain closed until you’re ready to dump. Leaving it open causes pyramid buildup that is difficult to clear. The gray tank can be left open once the black tank has been dumped. At extended stays, many RVers keep both closed and dump every few days for proper tank function and odor control.
Gneiss Goods provides RV inspections to customers in San Antonio, TX, and the surrounding areas. Contact us to request our services.